
How to plan a playground project, step by step
A clear, step-by-step guide to planning a commercial playground in Australia, from writing a brief and setting a budget through design, council approvals, surfacing and installation.
A playground is a long-term asset, and the projects that run smoothly are almost always the ones that were planned well from the start. Whether you are a school P&C, a childcare director, a council officer or a developer, the path from idea to ribbon-cutting follows the same shape: brief, budget, design, approvals and install. This guide walks through each step in plain English so you know what to expect, what to ask for, and where the common hold-ups tend to be.
Step 1: Write a simple brief
Before you look at any equipment, get clear on what you actually need. A good brief does not need to be a formal document. It just answers a handful of practical questions that shape every decision that follows.
- Who is it for? Age ranges matter, because equipment certified to AS 4685 is designed around specific age groups and reach heights.
- How many children will use it at once, and at peak times?
- What outcomes do you want? Active play, quiet sensory areas, inclusive access, fitness, or a mix.
- What is the site like? Slope, drainage, existing trees, shade, fencing and access for delivery vehicles.
- Are there non-negotiables? Wheelchair access, line of sight for supervision, or matching an existing colour scheme.
If you want help shaping this, our notes on inclusive and purposeful layouts in the design guide are a useful starting point, and we tailor the brief to your setting, whether that is a school, childcare centre or council park.
Step 2: Set a realistic budget
The most common planning mistake is budgeting for the equipment alone. A complete playground also includes softfall surfacing, edging, site preparation, delivery, installation and certification. Surfacing in particular is a real line item, not an afterthought, because it must meet AS 4422 for the fall heights of your equipment.
Rather than guess, it helps to understand what drives the total cost up or down. Our cost guide breaks this down, and our surfacing guide explains the options and their trade-offs. If you are funding the project through grants, the funding guide covers common Australian grant pathways and the kind of evidence assessors expect.
A genuinely useful tip: ask for a fixed-price, itemised quote. When every element is listed and priced, you can compare suppliers fairly and you will not be surprised by add-ons later.
Step 3: Develop the design
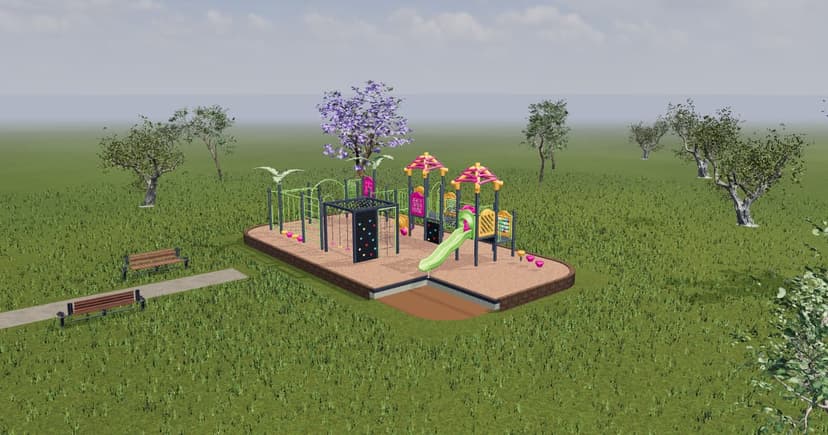
This is the fun part. A good designer takes your brief and your site constraints and turns them into a concept you can actually picture. At Kidzspace we provide free 2D and 3D concept designs, so your committee, board or community can see the layout, colours and play value before anyone commits.
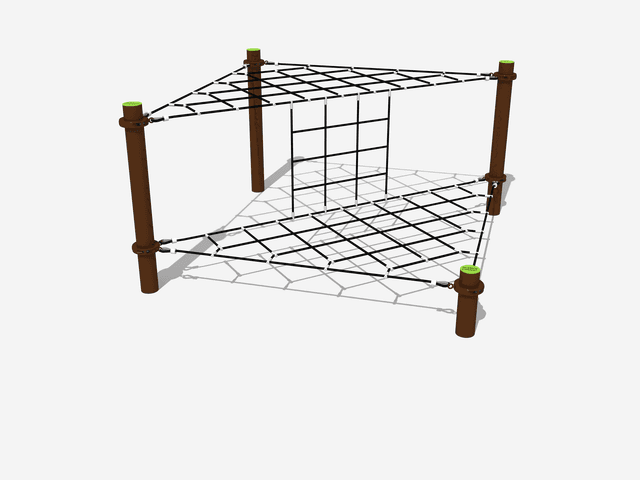
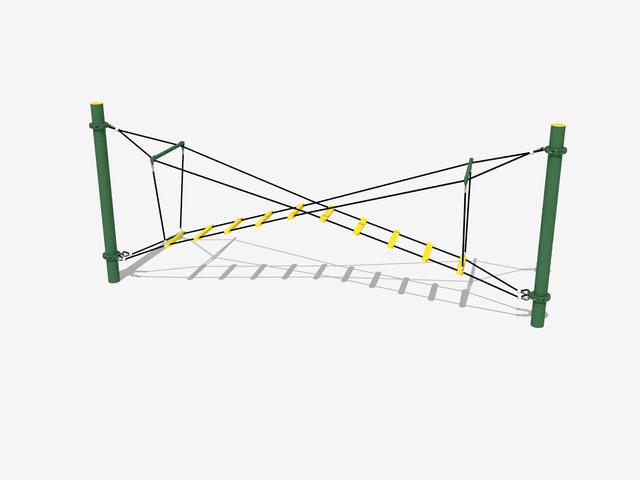
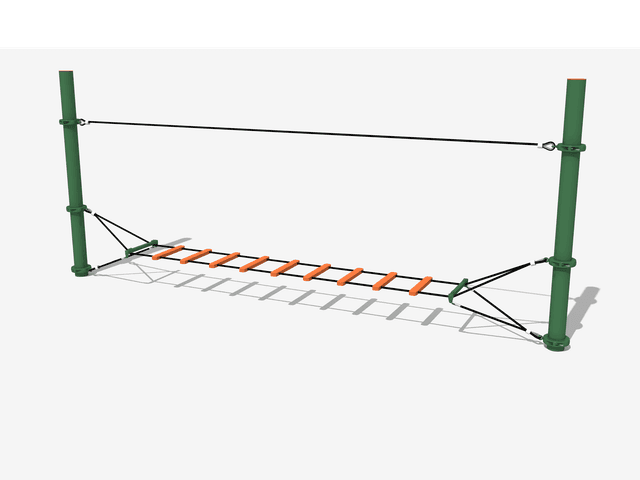
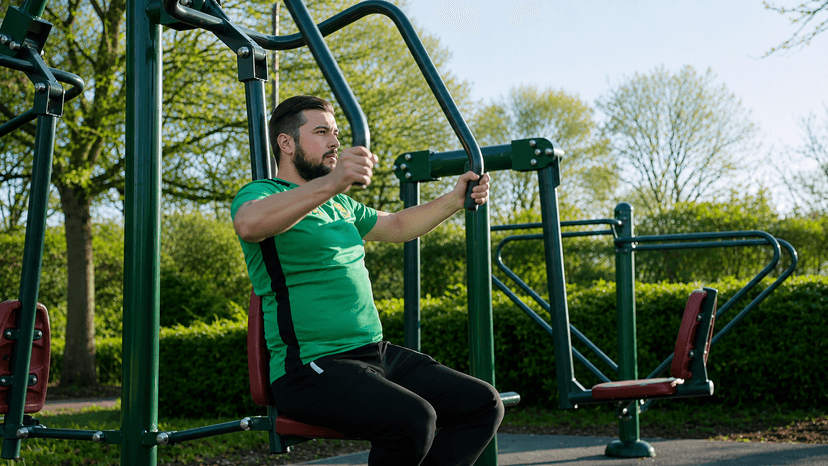
An early decision worth making is whether you want a connected play system or a set of freestanding pieces. Each suits different sites, budgets and supervision needs, and our guide on play systems versus freestanding equipment walks through the difference. It is also the moment to browse the equipment range and consider whether fitness elements belong in the mix.
The best designs come from a clear brief and a real conversation about the site, not from picking items off a page in isolation.
Step 4: Handle compliance and council approvals
Australian playgrounds carry clear safety obligations. Equipment is certified to AS 4685 and surfacing to AS 4422, and a well-run project includes independent certification at handover so you have documented proof the installation is compliant. Our compliance guide explains what these standards cover and why independent sign-off matters.
Whether you need development approval depends on your site, your local council and the scale of the works. Some projects proceed as exempt or self-assessable; others need a formal application. Build approval time into your schedule rather than assuming it will be quick, and read our council approval guide early so there are no surprises. It is also worth checking the warranties on offer, as these vary a lot between suppliers.
Step 5: Installation and handover
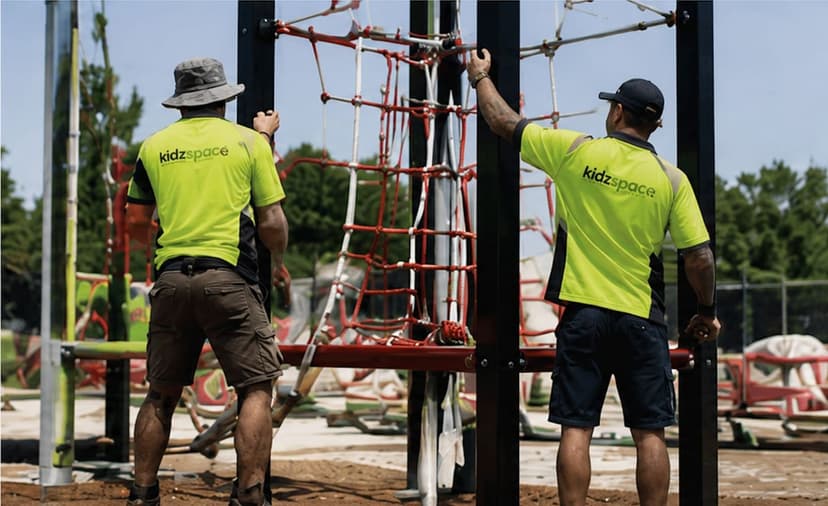
With design locked and approvals in hand, delivery and installation can be scheduled. A coordinated supplier who handles design, supply and installation end to end removes the gaps where things usually go wrong between separate contractors.
- Confirm site access, delivery dates and any need to fence off the area during works.
- Site preparation and groundworks come first, then equipment, then surfacing.
- Independent certification at handover confirms the playground meets the relevant standards.
- You receive documentation, warranty details and basic maintenance guidance for ongoing safety.
If your timeline is tight, ask about faster supply options. Our quick supply range is built for projects that need to move quickly without cutting corners on compliance.
Ready to start planning?
Every great playground starts with a conversation. Kidzspace has delivered more than 1,000 projects across Australia since 2015, for schools, childcare centres, councils, developers and community groups, and we are happy to help you work through your brief, budget and design at no cost. Get in touch for a free, itemised quote on the contact page or call us on 1300 543 977, and we will help you plan a playground that lasts.
Planning a playground?
Tell us about your site and we'll design something your community will love.