
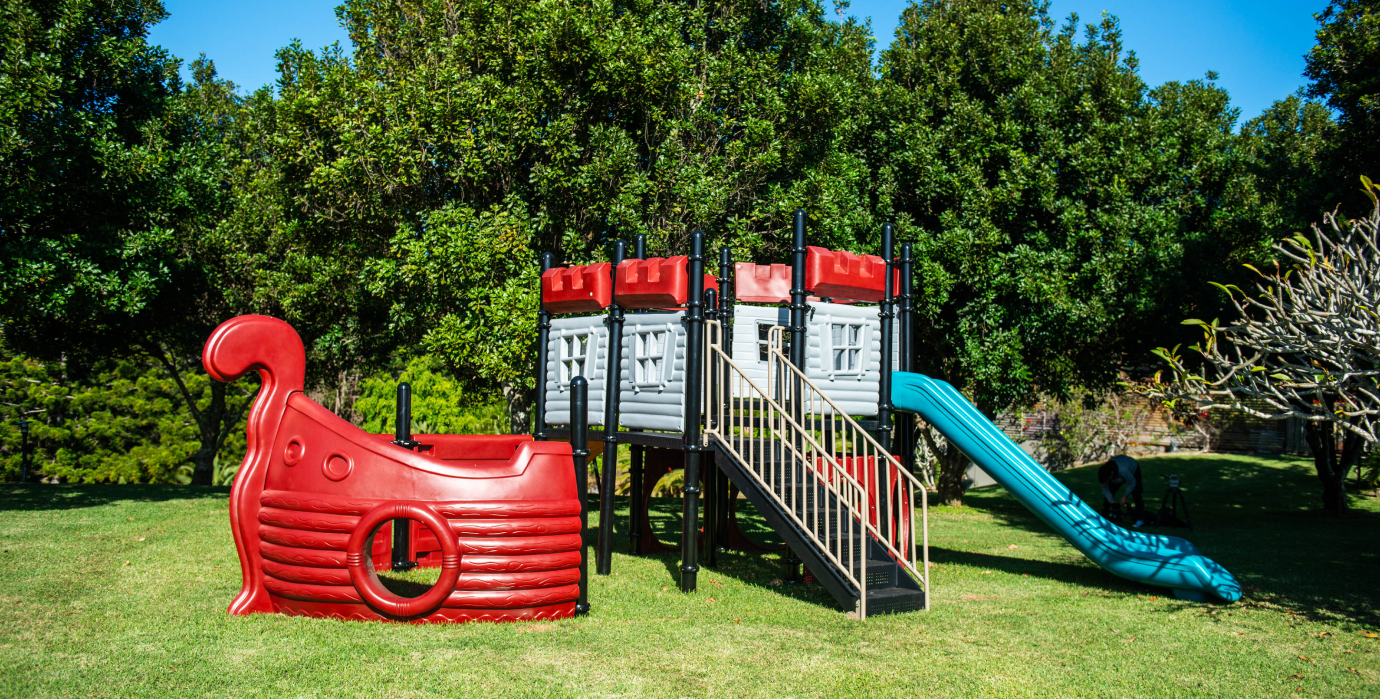


A lot of playground projects start the same way. A school principal stands beside an underused corner of the oval, or a council planner looks at a tired park that no longer pulls families in, and both can see the potential immediately. The hard part isn’t the vision. It’s turning that vision into a drawing of a playground that can be approved, priced, built, inspected, and used well for years.
That drawing has to do several jobs at once. It needs to communicate play value to non-technical stakeholders, give fabricators and installers accurate dimensions, and show assessors that the design responds to Australian standards and site conditions. If it misses any one of those jobs, the project usually slows down, costs more, or comes back for redesign.
Good drawings matter because design choices change how people use a space. The National Study of Playgrounds found that thoughtfully designed playground designs attract 2.5 times more users and generate nearly 3 times as much moderate to vigorous physical activity than traditional layouts. That’s why the earliest drawing decisions matter so much. Layout, circulation, feature selection, surfacing, shade, and visibility all shape the final outcome.
If you’re working through an upgrade, a new school play area, or a public reserve concept, it helps to understand the full process before the first concept goes to committee. A professional playground design approach isn’t about making a nice picture. It’s about reducing risk while improving use, inclusion, and long-term value.
A rough sketch on a notepad can start a conversation. It can’t get a playground built.
In practice, the drawing of a playground moves through several levels of detail. The first level captures intent. Where will active play sit? Where should quiet play go? How do children enter the space, and where do carers naturally stand? The second level tests whether those ideas fit the site. The final level turns concepts into instructions that builders, certifiers, and suppliers can trust.
That shift from idea to documentation is where many projects either become clearer or become expensive.
A professional playground drawing should answer five practical questions:
A drawing that looks impressive but leaves open questions about fall zones, access, or levels usually creates more meetings, not faster approvals.
The mistake I see most often is treating all drawings as if they serve the same purpose. They don’t.
A concept sketch is loose. It helps a group react to options. A technical drawing is exact. It has to survive procurement, review, fabrication, and on-site set-out. If those stages get blurred together, the project usually ends up with either over-designed early drawings that waste time, or under-documented final drawings that create site problems.
The strongest projects follow a disciplined sequence. First, understand the site. Then test ideas quickly. Then lock the geometry. Then document every safety, accessibility, and construction requirement properly.
That’s the path from vision to blueprint.
The first useful playground drawing usually starts before anyone opens CAD.
You need a project brief that is honest about users, budget, maintenance expectations, and approval constraints. Without that, the drawing becomes guesswork dressed up as design.

Before selecting a slide, swing set, or themed tower, define the conditions the drawing must respond to.
Ask questions that affect layout and compliance:
For education sites, practical planning issues often shape the drawing more than the play equipment itself. This is why a school-specific planning checklist such as school playground factors to consider is useful early. It forces the right conversations before layout work begins.
Once the brief is clear, survey the site thoroughly. This step saves redesign.
Record the site in a way that a designer, certifier, and installer can all use. That includes levels, boundaries, nearby structures, shade patterns, drainage paths, service locations, surface condition, and entry constraints for construction. If the site is sloped, irregular, or tightly bordered, those details need to appear in the base drawing from day one.
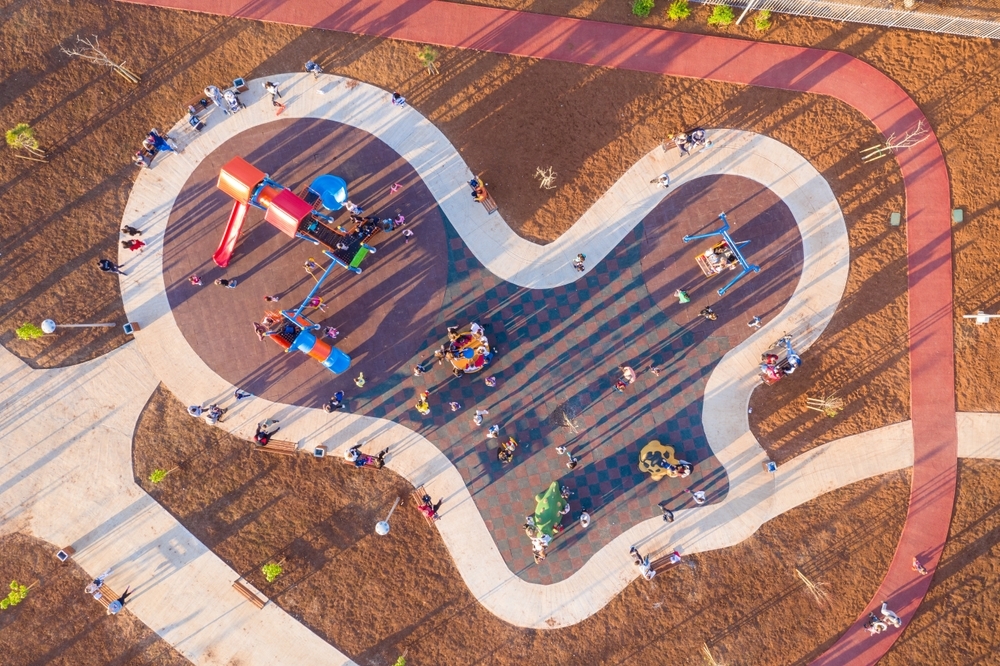
Aerial capture can help stakeholders understand the site faster than marked-up plans alone. On larger parks or awkward school sites, teams often use drone photography for construction to document access routes, canopy cover, neighbouring uses, and the relationship between the future play area and surrounding buildings.
Practical rule: if a tree, drain, fence, pit lid, retaining edge, or service trench can affect construction, put it on the base plan before concepts start.
This kind of survey footage is a useful refresher on how disciplined site measurement works in practice:
The site analysis map should be simple enough to read quickly and detailed enough to support design decisions. At minimum, it should show:
A clean site analysis map makes concept design faster because it removes avoidable assumptions. The most expensive line in a playground drawing is often the one drawn before the site was understood.
Concept work should be fast, loose, and a little messy.
At this stage, the drawing of a playground isn’t trying to prove every dimension. It’s trying to test whether the arrangement makes sense. You’re checking relationships between zones, not final fabrication details.
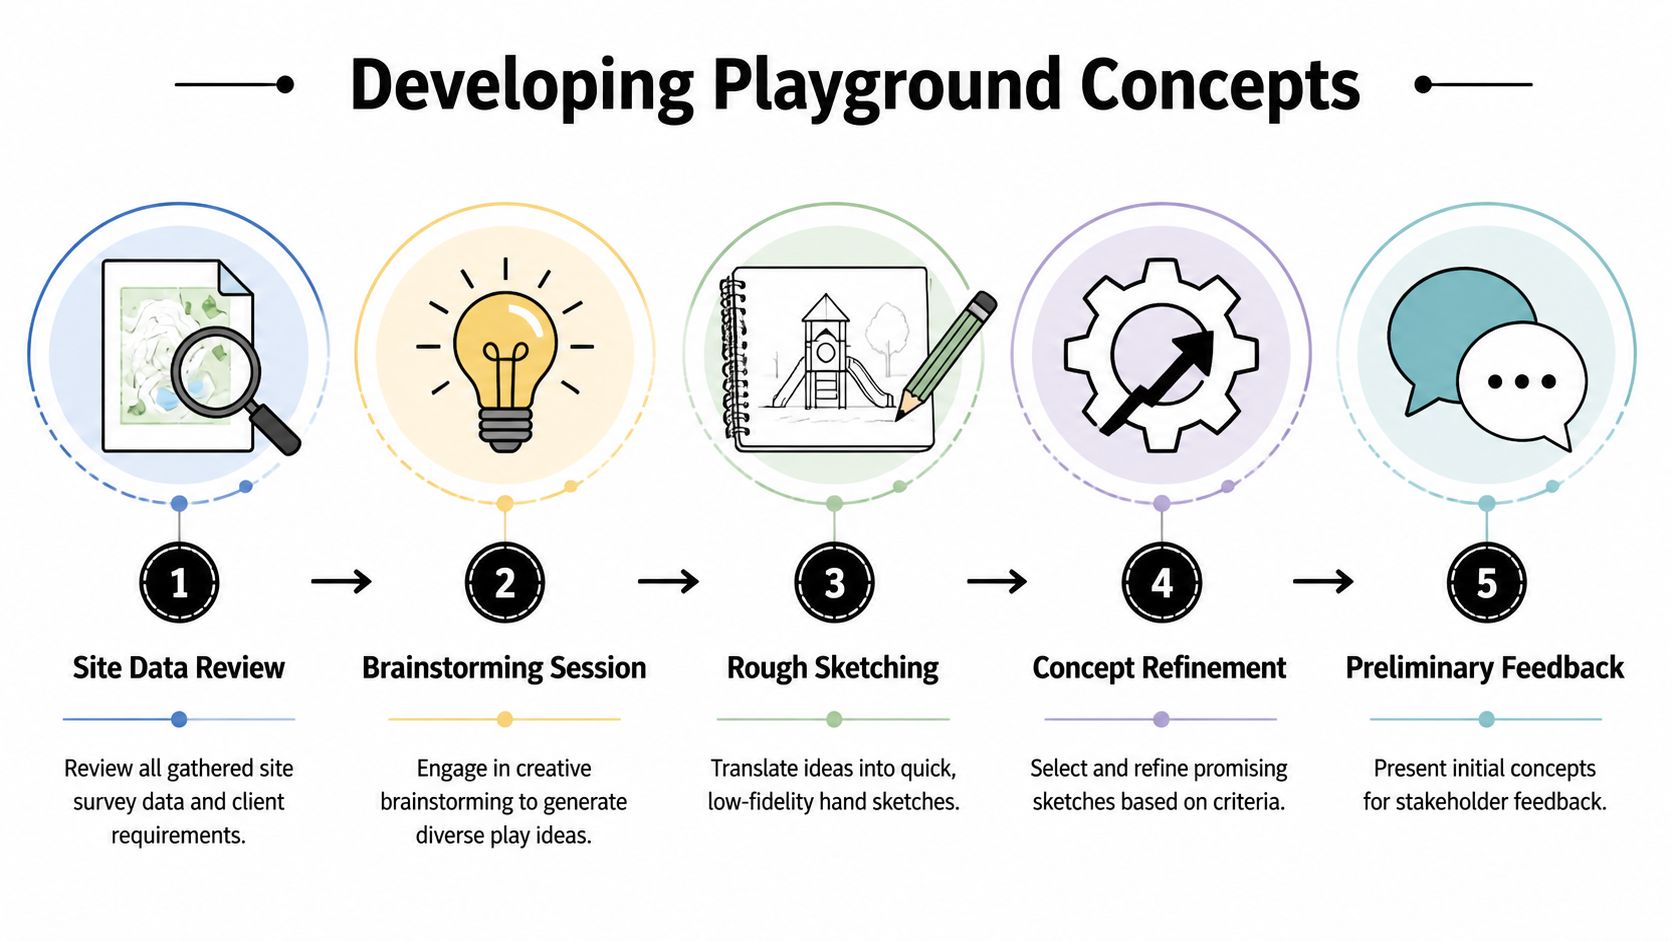
Start with a bubble diagram. It sounds basic, but it works because it keeps the conversation at the right level.
Mark out the broad zones first. Active climbing might sit away from passive seating. A swing zone needs clear separation because of movement and use patterns. Sensory play often works better where noise and circulation pressure are lower. Gathering and waiting spaces should sit where carers can supervise naturally.
This phase usually goes wrong when teams jump straight into fixed product footprints. A bubble sketch lets you test flow before you commit to forms.
Hand sketches still matter because they help people compare options quickly. For a school or council workshop, two or three different concept arrangements are often more useful than one polished scheme. Stakeholders can react to trade-offs more clearly when the drawings still feel flexible.
Useful early tests include:
For themed playgrounds, this documented methodology notes a process that uses initial 2D sketches with 1:20 toy figure scaling, foam board models to test elements such as seesaw pivots, and VR walkthroughs for stakeholder feedback, with designs using that process achieving a 92% approval rate on average with Victorian councils.
If a stakeholder can’t understand the idea from a rough concept, a cleaner render won’t fix the underlying planning problem.
A concept review should focus on judgement, not drafting comments. Ask people to respond to how the space works.
A short review matrix helps:
| Concept question | What to look for |
|---|---|
| Arrival | Is the entrance obvious and safe for the main users? |
| Supervision | Can staff or carers see the busiest play points easily? |
| Noise balance | Are high-energy and quieter spaces placed sensibly? |
| Theme fit | Does the idea support the school or park identity? |
| Future flexibility | Can the layout accept additions or staged upgrades later? |
The strongest concept drawings leave room for refinement. They don’t lock the project too early. They establish enough confidence that the team can move into technical documentation without reopening the whole layout.
At this point, the drawing stops being interpretive and starts becoming contractual.
A technical playground drawing needs to communicate exact geometry, material intent, and compliance-critical conditions. Fabricators, installers, and reviewers shouldn’t have to infer what the designer meant.

A complete technical package usually starts with orthographic projections. That means top view, front view, and side view. Together, those views remove ambiguity about shape, height, clearances, and assembly relationships.
For modular structures, the drawing should show:
The technical methodology documented for Australian playground drawing practice specifies front, top, and side views in CAD with dimensions in millimetres, including details such as a slide incline at 30 to 35 degrees and support leg heights for the intended age group. It also notes 18m² fall zones per critical height using unitary surfacing, material specifications such as galvanised steel to AS/NZS 4680, and tolerances of plus or minus 2mm in component dimensioning in the documented example at this playground equipment drawing reference.
Not every line on a drawing carries the same risk. Some omissions are inconvenient. Others stop fabrication or trigger redesign.
The dimensions that deserve special care include:
According to the same Australian drawing reference, 28% of rejected designs omit critical fall height calculations, causing average delays of 6 weeks when projects need redesign and resubmission.
The most common technical drawing failure isn’t poor graphics. It’s leaving out the one dimension that a certifier or fabricator needs to trust the design.
Material notes shouldn’t sit in a separate document disconnected from the plans. They need to align directly with the drawing set.
For Australian projects, the plans should identify structural metals, panel materials, coating systems, surfacing type, edge treatment, and any condition-specific selections such as corrosion resistance or bushfire-conscious detailing. If a tower wall is HDPE, note it. If support steel is galvanised, note it. If the path edge needs a specific finish transition into the impact area, show it.
A concise technical package often includes these sheets:
| Drawing sheet | Purpose |
|---|---|
| Site layout plan | Places the equipment within the real site, with setbacks and access |
| Plan and elevations | Show geometry, heights, and component relationships |
| Sections and details | Clarify footing, surfacing edges, and tricky junctions |
| Schedules and notes | List materials, finishes, and item references |
Clean technical layouts don’t just help the builder. They protect the client from interpretation gaps later.
Safety and accessibility can’t sit at the end of the drawing process as a red-pen exercise.
If they’re treated as a late overlay, the design usually becomes clumsy. Paths get forced in. Ramps become awkward add-ons. Sensory play ends up tokenistic. Surfacing transitions become harder to resolve. A compliant-looking plan can still feel exclusionary in real use.
An accessible route shouldn’t read like an afterthought wrapping around the outside of the playground. It should feel like a normal way into the space.
That means the drawing needs to show where a wheelchair user enters, how they reach raised or sensory-rich experiences, where transfer points occur, and how surfacing supports movement between zones. In Australian practice, this often means aligning the layout with AS 1428.1, including ramps drawn at the required 1:14 gradient where applicable in the technical documentation.
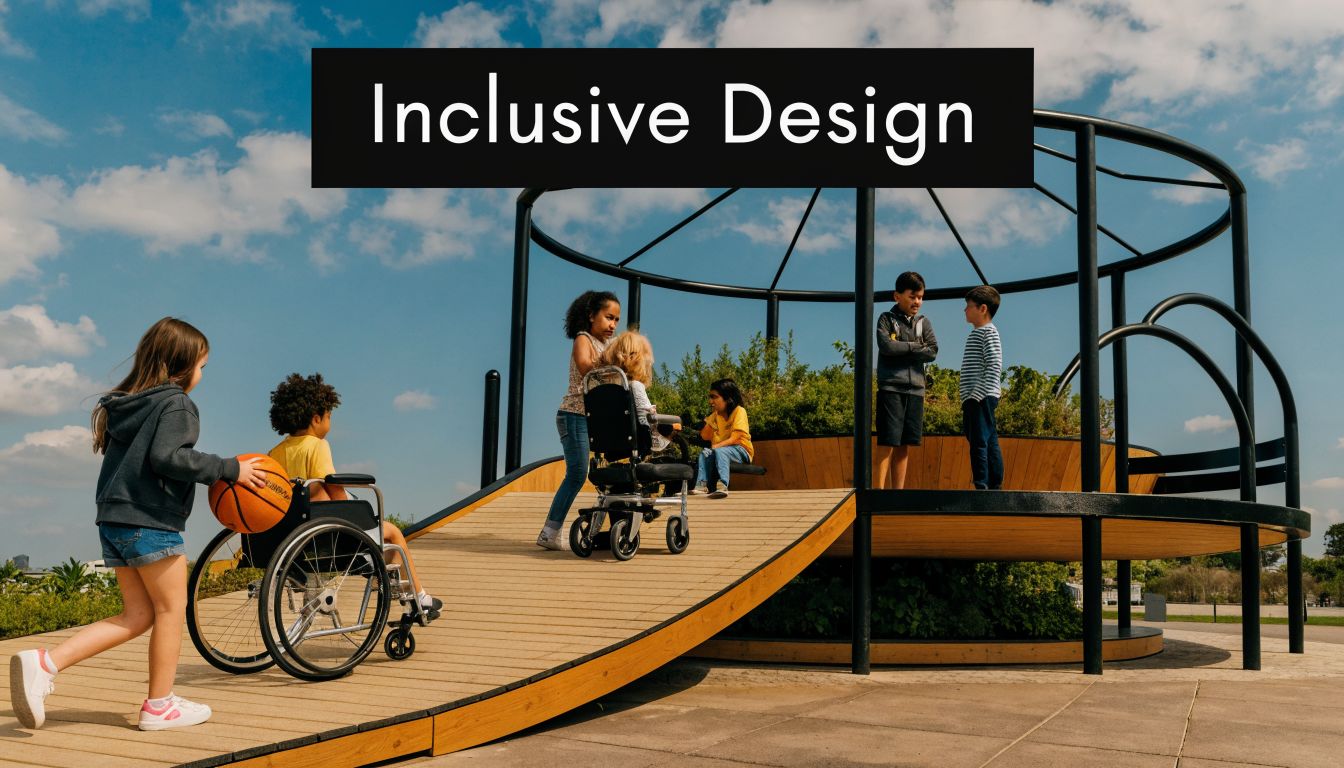
The biggest improvement often comes from one early decision. Put accessible arrival, social play, and sensory play into the heart of the plan instead of the margin.
Australian playgrounds still have a long way to go on inclusion. According to the verified accessibility data, only 42% of playgrounds meet full accessibility criteria in Australia, and a 2025 Play Australia report noted that 28% of council facilities lack ramps or sensory elements, with the source material also highlighting that many drawing resources fail to depict Australian-compliant features such as textured paths and correctly sloped safety surfacing in the first place, as noted in this accessibility discussion.
That matters because drawings shape what gets budgeted and what gets built. If the drawing doesn’t show inclusive elements clearly, they tend to disappear during value management or procurement.
A path on the plan isn’t the same as access. Access means someone can arrive, move, participate, rest, and leave with dignity.
Impact attenuation, drainage, edge restraint, and path transitions affect both safety and access. Yet surfacing is often one of the least clearly drawn parts of a concept package.
The surfacing plan should identify material zones, transitions, grades, and extents in enough detail for review and costing. If your project uses loose-fill, unitary rubber, engineered timber edging, or mixed surfaces, each interface should be explicit. A practical reference on playground surfacing materials is useful when selecting finishes that balance compliance, maintenance, and accessibility.
Here’s what tends to work well in drawings:
What doesn’t work is adding one ramp, one panel, and one note saying “inclusive”. If the spatial logic excludes users, the checklist won’t save the design.
Technical plans answer whether the playground can be built. Three-dimensional visuals answer whether people can understand it quickly enough to approve it.
That distinction matters in schools and councils, where the final decision often rests with people who don’t read plans every day. They need to see scale, shade, material character, sightlines, and how the play experience fits the site.
A plan view can show circulation and equipment footprints clearly. It can’t always show how enclosed a tower feels, whether a deck overlooks a path too directly, or how a proposed colour palette sits against the surrounding environment. Renderings solve that.
They also improve stakeholder feedback. When parents, teachers, board members, or parks officers see a convincing 3D view, their comments become more practical. They ask about seating, shade, fencing edges, and access routes instead of getting stuck on abstract uncertainty.
In major Australian metro areas, 62% of new public park projects now mandate digital twins via AR or VR apps for stakeholder previews, and approval processes are leaning further in that direction, with a 15% year-over-year increase in VR playground simulations noted in Q1 2026, according to this digital twin and AR/VR trend reference.
The strongest workflow links the technical model directly to the visual model. That reduces inconsistency between what was approved visually and what was documented technically.
A typical visual package might include:
When a committee can stand virtually inside the proposed space, they stop asking “what will it look like?” and start asking “is this the right design?”
Photorealistic rendering can be powerful, but only if it stays faithful to the documented design. Over-stylised visuals can oversell planting maturity, soften safety barriers, or hide awkward level changes. That causes trouble later when the built result looks different from the presentation images.
For teams trying to improve visual quality without drifting into misrepresentation, some of the principles used in advanced game rendering techniques are useful to study. The value isn’t in making a playground look cinematic. It’s in understanding lighting, material response, and viewpoint control so the rendering communicates the actual design more clearly.
The best 3D visuals are persuasive because they are accurate, not because they are glossy.
By the end of the process, the drawing package should be complete enough that a contractor, certifier, and client can all work from the same set without filling in gaps themselves.
That means the final handover needs discipline. Loose notes, mixed revisions, and half-resolved details create most of the pain at this stage.
A proper documentation set usually includes final plans, elevations, sections, details, schedules, and written specifications. It should also align with the actual manufacturing approach and installation sequence, not just the design intent.
Before issue, check that the package includes:
Most late-stage problems are avoidable. They usually come from coordination gaps, not from ambitious design.
Watch for these issues:
A final review table helps keep the package honest.
| Check Item | Status | Notes |
|---|---|---|
| Site plan coordinated with survey | ☐ | Confirm levels, setbacks, trees, services |
| Equipment dimensions verified | ☐ | Match plans, elevations, schedules |
| Fall zones and surfacing shown | ☐ | Ensure extents and transitions are clear |
| Accessibility routes resolved | ☐ | Check gradients, entries, transfer points |
| Materials and finishes specified | ☐ | Align with technical notes and schedules |
| Details ready for manufacture | ☐ | Remove ambiguous junctions or missing notes |
| Revision issue current | ☐ | Confirm all consultants use the latest set |
One final rule is worth keeping in mind. If something matters to safety, accessibility, approval, price, or installation, it should appear clearly in the drawing package. If it exists only in someone’s memory or email trail, it’s not documented well enough.
If you’re planning a new school, council, or community play space, Kidzspace can help turn early ideas into compliant, buildable drawings and finished equipment that suit Australian conditions. Their team works across concept development, custom design, themed play, inclusive layouts, and project support, so you can move from a rough brief to a fully resolved playground with more confidence.

Copyright © Kidzspace. All Rights Reserved.
Copyright © Kidzspace. All Rights Reserved.