
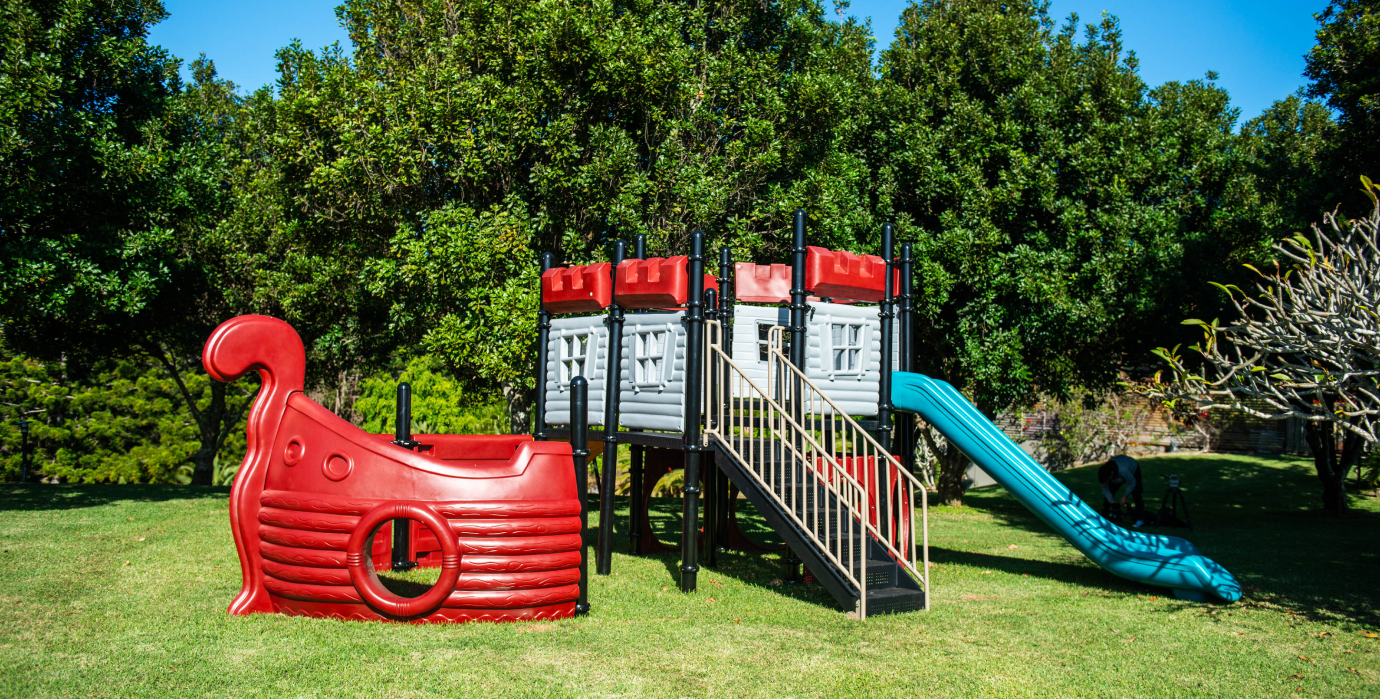


An empty corner of a school yard can sit untouched for years. It’s too open to feel inviting, too small for a full play tower, and too exposed to justify a quick budget buy that will fade, rust, or create supervision headaches.
That’s often where a childrens climbing dome earns its place. Not because it fills space, but because it turns dead ground into a shared play point. Children climb over it, under it, around it, and through it. Staff get a clear line of sight. Planners get a compact structure that can suit an early learning setting, a primary school, or a public reserve with the right specification.
The mistake is treating a dome as a simple commodity. For Australian sites, the underlying decision sits underneath the catalogue photo. You’re choosing a structure that has to cope with sun, salt, daily wear, fall zone requirements, anchor stability, maintenance workloads, and community expectations around inclusion. A dome that looks similar on day one can perform very differently by year five.
Most procurement projects start with a practical question. What can go into this patch of land that children will use every day, without creating a maintenance burden the site team regrets later?
A climbing dome works well when you need one element to do several jobs at once. It creates active movement, gives children a visible challenge, and supports many short bursts of play rather than only one scripted use. That matters in schools and parks where equipment has to keep earning its footprint.
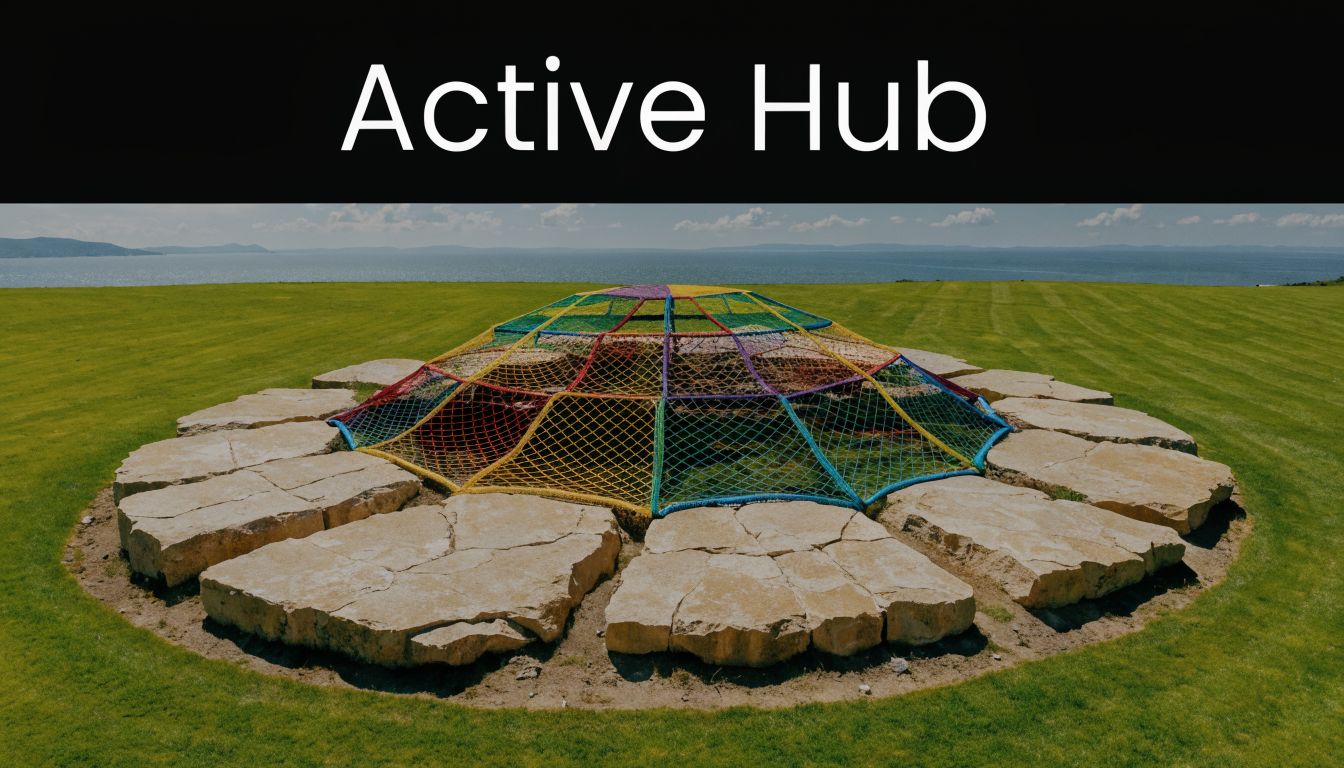
A good dome also changes how the surrounding area functions. Once installed properly, it often becomes the point children orient themselves around. Some race to the top. Some treat the lower bars as a meeting place. Others use the space beneath as a hideout, checkpoint, or imaginary base.
For first major equipment procurement, a dome is often easier to plan than a larger composite unit because it gives you:
That doesn’t mean every dome is a good fit.
Procurement rule: If the structure is easy to buy but hard to maintain, hard to supervise, or hard to surface correctly, it isn’t a value purchase.
The strongest projects start by treating the dome as part of a whole play setting. Consider the approach path, the ground surface, nearby seating, shade, obstacle clearance, and how children enter and leave the zone during busy periods. The dome may be the feature people notice first, but the surrounding decisions determine whether it becomes an active play hub or a costly object sitting in the middle of a tired yard.
Children don’t use a dome in one fixed way. That’s exactly why it keeps its value. A well-placed childrens climbing dome supports repeated play because it combines movement, decision-making, and social negotiation in one structure.
Near the start of a project, it helps to think about the dome in three layers. First, what it asks the body to do. Second, what it asks children to work out with each other. Third, what it asks the brain to solve while moving.

A dome rarely produces repetitive movement. Children shift weight, test footholds, pull with the upper body, push through the legs, and stabilise through the core. Those micro-adjustments matter because climbing asks for coordination across the whole body, not isolated effort.
One child may choose the outer route and keep three points of contact the entire time. Another may move quickly to the upper section, pause, and then recalculate a way down. Both are building balance, body awareness, and control.
Useful physical benefits commonly include:
For a broader look at how climbing equipment supports active play, this overview of playground climbing equipment benefits is a helpful companion.
Climbing structures often show you more about a play culture than a timetable does. You can watch children learn when to wait, when to offer help, when to change route, and when to step back because someone else needs space.
That social value is easy to miss if you only assess the dome as steel, rope, and fasteners. In use, it becomes a shared problem-solving space. Children negotiate turns at popular points. They encourage more hesitant peers. They learn that reaching the highest point isn’t the only successful outcome.
A strong play element gives children enough challenge to stay interested, but not so much complexity that only the most confident users can access it.
Resilience develops. A child slips one rung lower than planned, resets, and tries again. Another realises the route they picked is harder than it looked from the ground. Those moments build judgement, not just confidence.
A dome looks simple. Play on it isn’t.
Every ascent asks children to make decisions. Which path is easiest? Which bar is stable? Can I cross sideways instead of going straight up? That kind of active route planning develops spatial awareness and practical problem-solving while the child is still in motion.
Later in the play cycle, the same structure often shifts into imaginative use. It becomes a mountain, a ship, a command post, a rescue station, or a boundary marker in a group game. That flexibility is one reason domes tend to stay relevant after the novelty wears off.
A short example helps. A small group may start by racing to the upper ring. Within minutes, the game changes. One child guards the “base”, another creates a rule about safe crossing points, and the rest start inventing alternate routes. The structure hasn’t changed, but the play demand has deepened.
The movement patterns are easier to appreciate when you see them in action:
The right dome for a small early learning centre is rarely the right dome for a busy public reserve. Problems start when buyers choose by appearance first and specification second.
A better approach is to match the dome to three realities on site. Who will use it most. How many children are likely to converge on it. How much room the site can give it without compromising circulation or safety.
Age range changes everything. Younger children need lower access points, manageable climbing intervals, and a shape that encourages successful first climbs rather than repeated failure. Older primary students usually want more challenge, more height, and more route variety.
Use a simple decision frame:
| Site type | Better fit | What to prioritise |
|---|---|---|
| Early learning centre | Lower, less intimidating dome | Easy entry, simpler route choice, close supervision |
| Primary school | Mid-range challenge | Mixed skill levels, durable finish, strong circulation around the base |
| Public park | More robust and higher-capacity option | Heavy use, broad age appeal, crowd flow, stronger site integration |
A dome that’s too advanced can discourage the very users you’re trying to engage. A dome that’s too basic can become a pass-through element that older children abandon quickly.
Buyers often focus on the visible structure and forget the practical footprint. You’re not only placing a dome. You’re allocating space for approach, circulation, supervision positions, and the surrounding surfacing zone.
That means the right question isn’t “Will the dome fit here?” It’s “Will the dome work here once children are using it at peak times?”
Consider these planning filters:
If your plan only fits the frame and not the movement around it, the layout is underspecified.
For many projects, a “good, better, best” conversation helps decision-makers compare value without getting trapped in catalogue language.
Good usually means a compact dome for a smaller site with a clear age range and moderate use. This can suit a childcare service or a tightly planned school corner where supervision and simplicity matter most.
Better suits mixed-age school settings where you need stronger challenge and more room for parallel play. The dome should offer several routes so children don’t all chase the same path.
Best isn’t just the largest. For a council or large community site, the best option is the one with the strongest fit between capacity, layout, durability, and maintenance reality. Sometimes that is a larger dome. Sometimes it’s a mid-sized unit installed in the right zone with excellent surfacing, access, and shade.
When evaluating options, ask suppliers to speak plainly about intended age use, anchoring method, compatible surfacing, expected wear points, and how the dome behaves on a busy site. If they can’t explain those trade-offs clearly, the specification probably isn’t mature enough yet.
A dome can look excellent on handover day and still become a problem asset within a few summers. I see this most often when buyers compare shape, size, and price, but give too little attention to coatings, fasteners, and how the frame will cope with local exposure over ten years of school or public use.
Australian sites are hard on outdoor equipment. High UV, coastal salt, wet winters, irrigation overspray, and long periods between inspections all place pressure on the parts children never notice but maintenance teams deal with later. Material choice affects more than appearance. It affects repainting frequency, corrosion risk, parts replacement, and how long the structure remains serviceable without repeated intervention.
For steel-framed domes, start with the full protection system, not the headline material alone. A suitable public-use specification usually includes galvanised steel, a coating designed for exterior exposure, and corrosion-resistant fixings matched to the site conditions.
That combination matters.
A well-finished frame resists surface breakdown better, but long-term performance often depends on smaller details such as weld treatment, drainage points, end caps, and whether moisture can sit inside joins. On lower-cost units, those details are often where deterioration begins. The frame itself may be sound while the finish fails early around clamps, bolts, or cut edges.
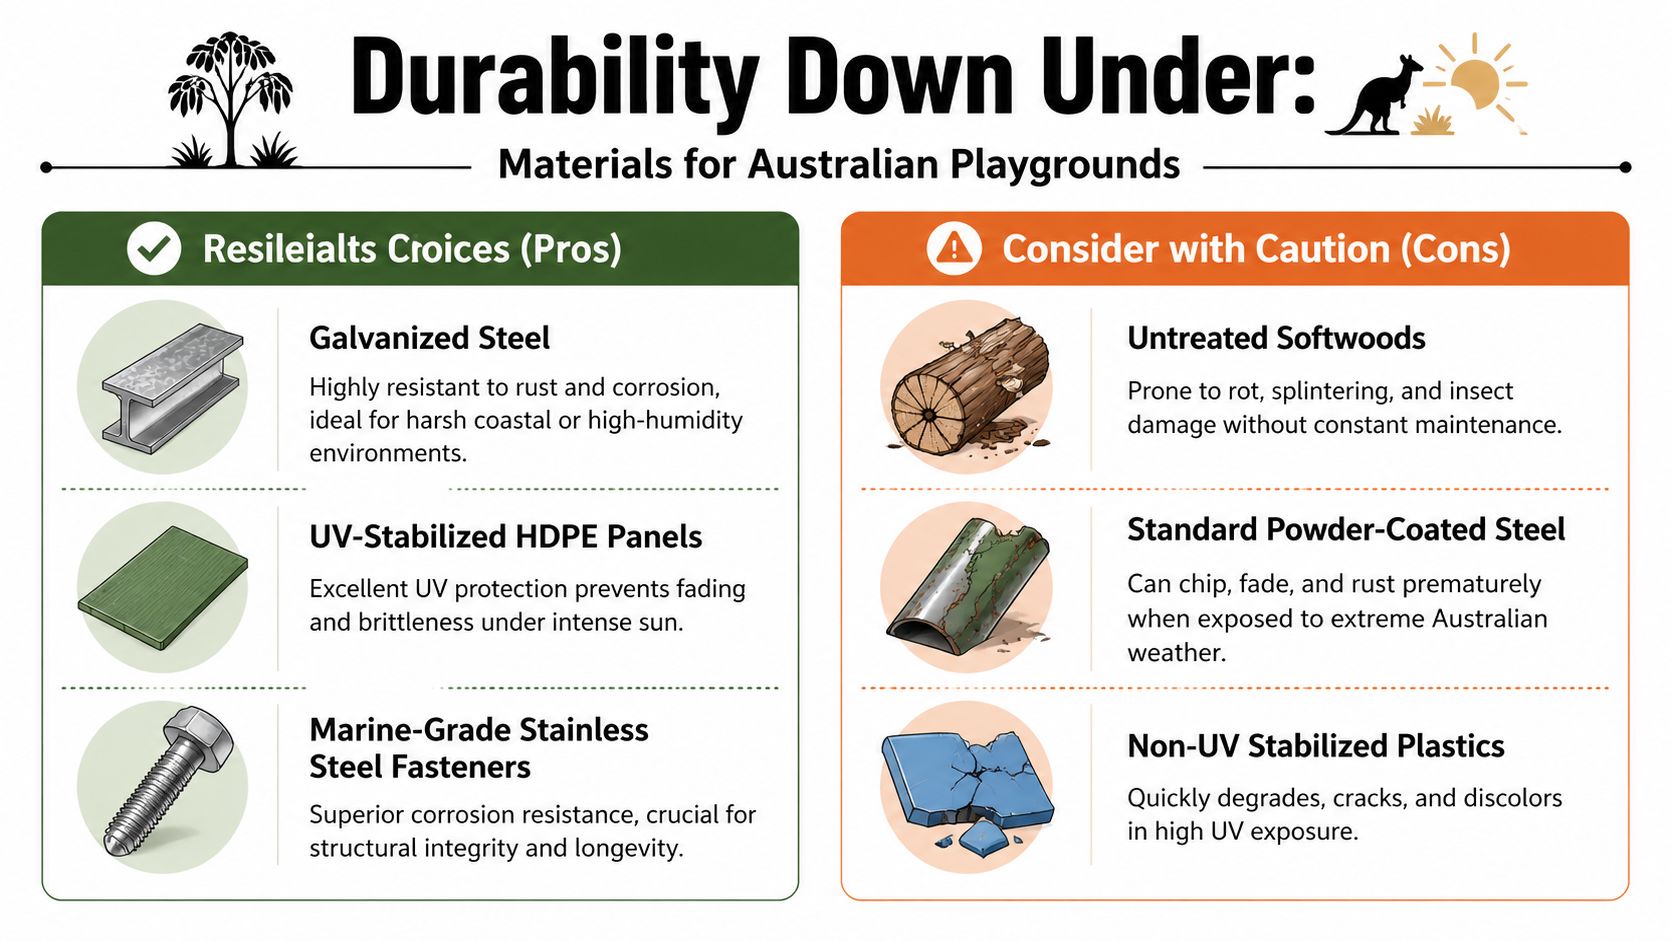
The infographic above shows the broad difference between material choices that age well and those that create avoidable maintenance work. In practice, these options usually justify the higher upfront spend on Australian sites:
By contrast, untreated softwoods, brittle low-grade plastics, and lightly coated steel can turn into recurring maintenance items. They rarely fail all at once. More often, they fade, crack, rust at connection points, or need touch-up work far earlier than expected.
A school near the coast and a school in a hot inland suburb may both need a childrens climbing dome, but they should not ask suppliers the same questions. Coastal projects need clear information on corrosion protection, fastener grade, and how the finish performs in salt-laden air. Inland and northern projects should press harder on UV stability, heat build-up, colour retention, and whether components become brittle over time.
Use procurement meetings to get specific answers:
These questions get to total cost of ownership. A cheaper dome with weaker finishes can cost more over its life if staff are regularly managing rust spots, loose hardware, or cosmetic decline that triggers complaints from parents and the community.
Durability should be assessed as a lifecycle issue, not a catalogue feature. Ask about galvanising method, coating specification, fastener grade, weld finishing, anchor detailing, spare-parts availability, and the maintenance tasks expected across the warranty period and beyond.
Accessibility belongs in this discussion too. If grips, entry points, or transfer elements deteriorate faster than the main frame, the dome may remain standing while becoming less usable for part of the community. A durable design keeps its function as well as its structure.
For first-time buyers, the common mistake is treating all steel domes as roughly equivalent. They are not. Two products can look similar in plan and still have very different maintenance demands, replacement cycles, and whole-of-life value once they are exposed to Australian weather and daily use.
A school approves a new dome, the frame goes in on schedule, and the first problem appears after opening day. Children cut through a narrow edge where loose-fill has migrated, a footing starts to show, and staff realise the area is harder to supervise than it looked on the plan. That is a site planning failure, not a product failure.
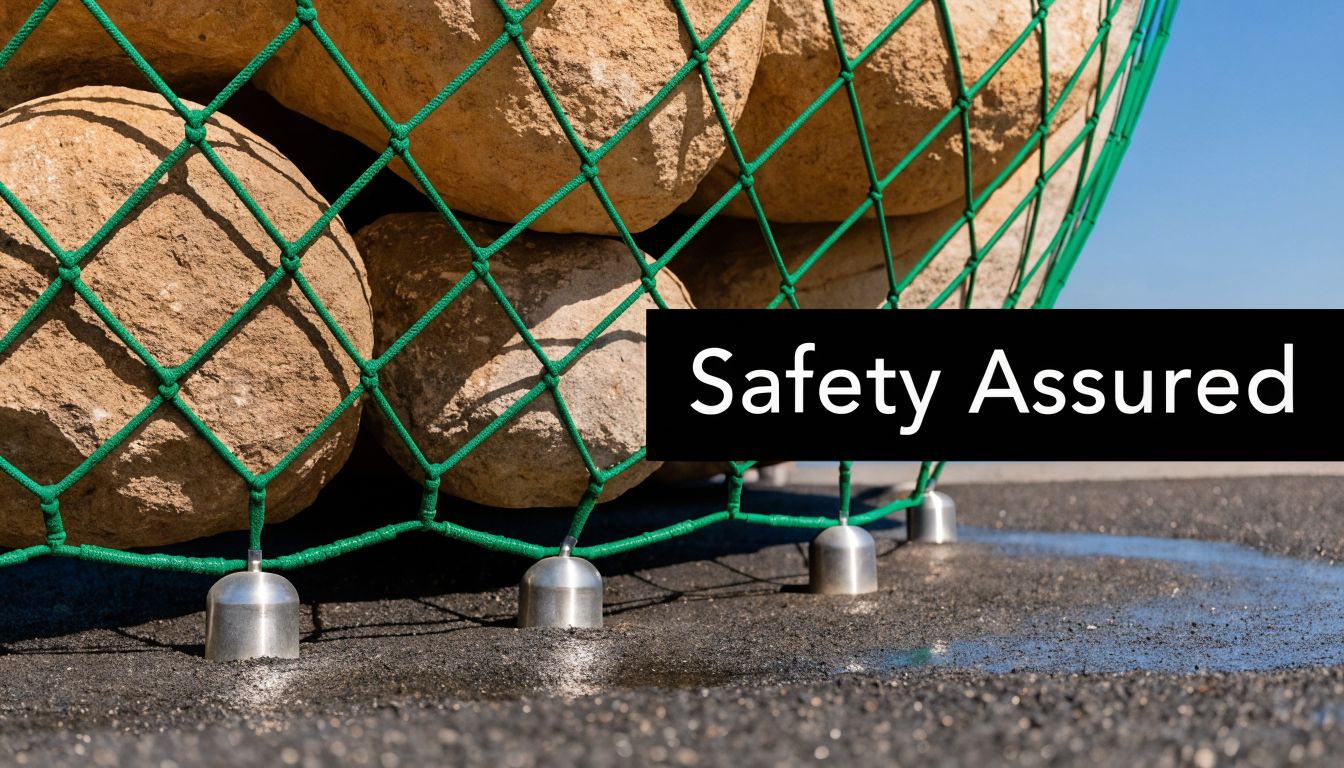
For climbing equipment, the ground zone carries as much safety responsibility as the steel above it. Procurement teams should assess the dome, surfacing, clearances, drainage, and installation as one system. If one part is weak, the whole installation underperforms.
The term that matters here is critical fall height, or CFH. It sets the performance level the surfacing must achieve for the relevant fall from the equipment. In practice, that means the dome and the surface specification have to be checked together, not purchased as separate decisions.
First-time buyers can easily make a misstep. A dome may have the right certification, but the installed site can still create avoidable risk if the surfacing depth is wrong, the edges are poorly detailed, or wear areas develop faster than expected.
Grass is a common example. It may suit informal play, but under a climbing structure it usually wears out in the highest-traffic spots first. Once that happens, compliance, accessibility, and presentation all start to slide at the same time.
Surface selection affects more than impact attenuation. It shapes how the space performs after rain, how easy it is to maintain, whether wheel access is realistic, and how often staff need to intervene.
Unitary rubber can reduce maintenance and improve access around the dome, but it usually comes with a higher upfront cost and demands good base preparation. Loose-fill options can lower initial spend, yet they need regular top-ups, edge management, and closer inspection around entries and high-use paths. Tiles can work well in some sites, though joints and edge movement need attention over time.
A useful way to compare options is to review them against four practical questions:
For a more detailed comparison of compliant options, this guide to playground surfacing materials in Australia is a useful reference during specification.
The clearance around the dome should be treated as active safety space. Too many layouts lose discipline at this stage. A seat gets added for supervision, a log border shifts inward, a garden edge creeps closer, or another item is placed nearby to maximise the budget. The drawing still looks tidy. The finished play area feels cramped.
Children do not climb in straight lines. They jump down, circle, wait, chase, and change direction quickly. The area around the structure has to allow for that movement without introducing hard edges, collision points, or supervision blind spots.
A quick site review should check:
| Site issue | What goes wrong |
|---|---|
| Dome placed near fence or wall | Collision risk and restricted circulation |
| Decorative boulders within fall area | Hard impact points where the zone should stay clear |
| Loose-fill migration at entry points | Reduced effective surfacing depth |
| Congested equipment spacing | Overlap of movement paths and supervision difficulty |
The lowest part of the installation usually shows problems first. Anchors, footings, edge restraints, and base connections take constant loading from climbing, jumping, kicking, and weather exposure. If those details are poorly resolved, schools and councils end up paying for early corrective work that was avoidable at procurement stage.
Ask for footing details, finished levels, and the interface between the dome and the surfacing system. The questions are simple. Will the footing stay buried at the correct level over time? Will the surface remain intact around the posts or connection points? Can the contractor show how water will drain away rather than sit against the base?
Grip and access points deserve the same scrutiny. Children climb with wet hands, dusty shoes, and mixed confidence levels. Lower entry routes should support secure footing and clear decision-making, especially in busy settings where several children approach the structure at once.
Safety is judged on the installed condition, not the brochure. That is why experienced buyers review certificates, site layout, surfacing specification, and installation details as one package before they sign off.
A school often starts with a simple brief. Install a climbing dome in the spare corner near the oval. A year later, the same site may be dealing with crowding at the entry points, students who can only watch from the edge, and add-ons that looked appealing in a concept sketch but now complicate supervision and maintenance.
That is why customisation needs to be treated as an operational decision, not a styling exercise. The right changes improve play value, fit the character of the site, and reduce exclusion. Poor ones add cost without improving how children use the space in practice.
The strongest dome projects keep the climbing structure as the main event and build the setting around it with restraint. Colour can help the equipment sit comfortably within school branding or a civic palette. Nearby play prompts, seating, and linked activity pieces can widen use of the area without crowding the fall zone or blocking sightlines.
Useful upgrades often include:
Trade-offs matter here. Custom powder-coat colours, themed panels, and bespoke layouts can improve the project, but they can also increase lead times, future touch-up complexity, and replacement costs if parts are damaged years later. For schools and councils, the better question is not "Can this be customised?" but "Will this still be practical to maintain and match in five or ten years?"
A climbing dome is a challenging piece of equipment by its very nature. That challenge is part of its value, but it also means inclusion cannot rest on the frame alone.
Procurement teams should assess the whole play setting. Can a child using a mobility device reach the area easily? Is there a reason to stay and participate at ground level? Are there places to pause, observe, join social play, and build confidence before attempting the structure itself? Those decisions have a bigger effect on real access than a broad inclusion statement in a product brochure.
Inclusive dome planning usually works best when access is layered. Some children will climb to the top. Some will engage from lower rungs, adjacent play items, or social spaces around the structure. A good layout allows all of those choices without making any group feel pushed to the edge.
Look for measures such as:
Small planning decisions make a big difference. A seat with clear views into the play zone, a usable path connection, or an adjacent sensory or imaginative element often delivers more day-to-day inclusion than a heavily themed add-on with little practical function.
Consultation also improves outcomes. Principals, teachers, education support staff, families, and local access groups usually identify barriers early, before they are cast into concrete or locked into a fabrication drawing. That early input tends to protect budget as well. Fixing access on paper is far cheaper than correcting it after installation.
A dome can look excellent on handover day and still become an expensive asset three summers later. I have seen that happen when buyers focus on purchase price and overlook the ongoing work created by coatings that age poorly, fixings that are hard to replace, or surfacing that needs frequent correction after heavy use.
Long-term value comes from a simple question. What will this structure cost to own, inspect, clean, repair, and keep compliant over the next decade in your local conditions?
Children’s climbing domes are usually straightforward to maintain, but only if the inspection routine is realistic for the people who will carry it out. School grounds teams and council crews need a schedule they can repeat without specialist tools for every visit.
A workable routine usually includes:
This playground maintenance checklist for schools and councils is a useful starting point for setting those responsibilities before handover.
Maintenance starts at the specification stage. Frame material, finish system, connector design, rope quality, and surfacing type all affect how much staff time the dome will need later.
The trade-offs are usually clear. A cheaper finish may reduce upfront cost but show wear faster on exposed sites. A proprietary connector may look neat in a brochure but create delays if replacement parts are slow to source. Loose-fill surfacing can reduce initial spend, yet it often needs more regular top-up, redistribution, and edge management than many buyers expect.
These are ownership decisions, not minor technical details.
Australian sites are hard on outdoor equipment. UV, heat, coastal air, heavy rain, and repeated school or community use all shorten the life of weak specifications. A dome installed inland under moderate use will age differently from one near the coast or in a public park with year-round traffic.
That is why lifecycle planning should cover more than the structure itself. Ask how quickly the finish can be touched up, whether common wear parts are locally available, what cleaning methods are recommended, and how inspections will be recorded. If those answers are vague during procurement, they usually stay vague after installation.
A sound procurement decision keeps maintenance predictable and downtime low. It also gives the site team a fair chance of managing the asset without constant call-backs or improvised repairs.
Before approving a dome, confirm:
Councils and schools that ask those questions early usually get better value from the same capital budget. The dome lasts longer, staff spend less time chasing avoidable issues, and the play space stays open and safe for the children who rely on it.
A successful dome project is rarely the result of one great product choice. It’s usually the result of several sound decisions made in the right order.
Use the checklist below in planning meetings, site walks, and supplier discussions. It keeps the conversation focused on whole-of-life value rather than catalogue impressions.
| Phase | Key Action | Considerations |
|---|---|---|
| Early planning | Define the main user group | Match challenge level to actual ages and confidence levels |
| Site review | Confirm available footprint | Include circulation, supervision lines, surfacing area, and clearance from obstacles |
| Specification | Select materials for local conditions | Consider UV exposure, coastal corrosion, humidity, and likely wear intensity |
| Safety review | Verify compliance requirements | Confirm relevant Australian Standards, fall height response, and installation details |
| Ground works | Choose suitable surfacing | Balance impact attenuation, accessibility, drainage, and maintenance load |
| Layout design | Protect the use zone | Keep the surrounding area free of hazards, congestion, and decorative hard elements |
| Inclusion planning | Review accessibility features | Look beyond the dome itself to paths, adjacent play, transfer opportunities, and participation points |
| Operations | Plan maintenance responsibilities | Set inspection routines, cleaning expectations, and repair pathways before handover |
| Procurement | Ask suppliers for detail, not slogans | Require clear answers on materials, anchors, finishes, spare parts, and ongoing support |
One final test helps separate strong proposals from weak ones. Ask whether the dome will still be the right choice after years of sun, wear, inspections, and community use. If the answer depends on ideal conditions, keep looking.
Kidzspace works with schools, councils, early learning centres, and community project teams that want more than a quick equipment purchase. If you need help specifying a childrens climbing dome that balances safety, durability, accessibility, and long-term value for Australian conditions, talk to Kidzspace about your site, budget, and project goals.

Copyright © Kidzspace. All Rights Reserved.
Copyright © Kidzspace. All Rights Reserved.