
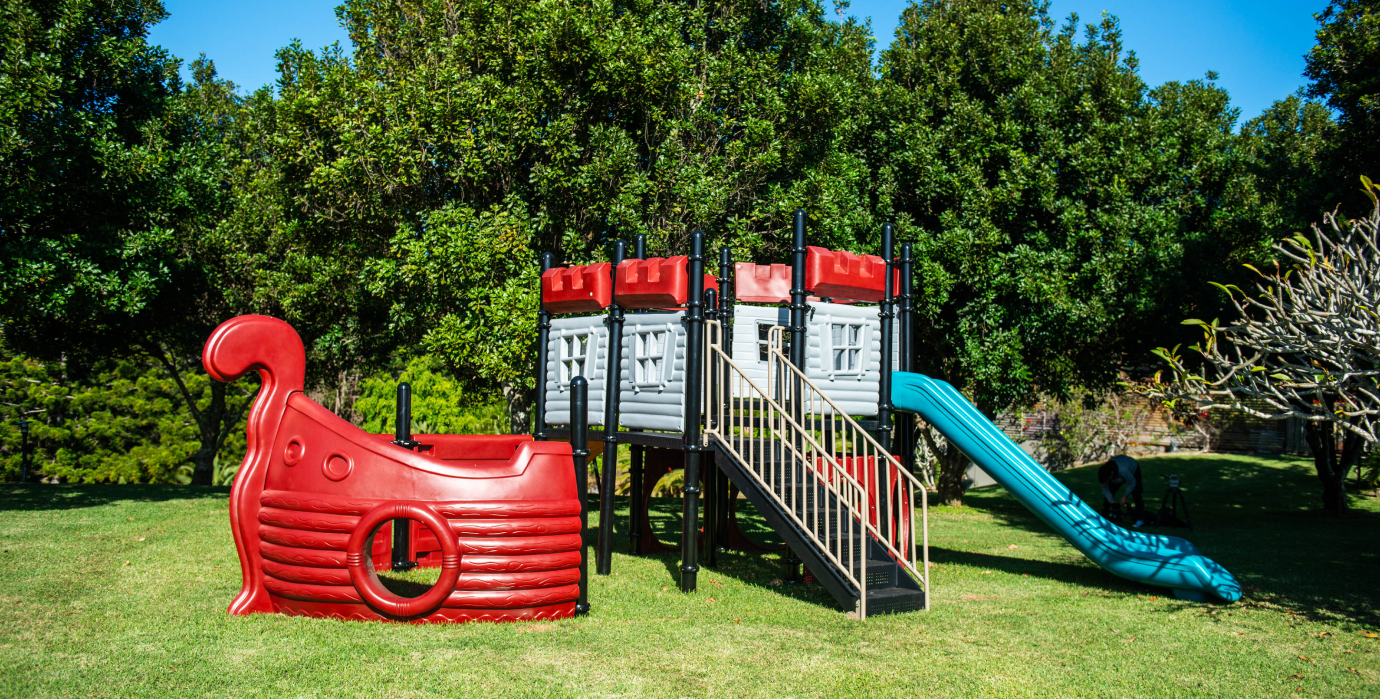


A lot of playground projects stall at the same point. The equipment schedule looks settled, the softfall has been priced, and then someone asks a basic question that turns out not to be basic at all: what are we doing for the border?
That detail decides more than most committees expect. A border holds loose-fill surfacing in place, but it also affects drainage, mowing lines, trip risk, maintenance effort, and whether a child using a mobility aid can enter the play space without help. If you're working on a school or council project, that makes the border a compliance issue as much as a landscaping one.
Many generic guides treat edging as an afterthought. In practice, how to build a playground border starts with access and safety, not with timber lengths or spikes. If the perimeter is wrong, the rest of the playground has to work around a poor decision.
The border is the first built element that tells you whether a playground will perform well over time. If it's too high, it becomes a barrier. If it's under-supported, it twists and creates trip points. If it's badly aligned with surfacing levels, mulch walks away from the fall zone and your maintenance team spends the year chasing it back.
For councils and schools, I treat the border as part of the safety system. It has to retain surfacing, define circulation, protect the asset, and support inclusion from day one. That means deciding early whether the play area uses loose-fill softfall, rubber, or a mixed surface arrangement. Border detailing changes with each option.
A common mistake is copying a domestic garden edge into a public play setting. Playground borders are exposed to repeated impact, foot traffic, mower contact, water, and constant edge loading from surfacing. They need a stronger specification and a better installation standard than ordinary garden edging.
Three questions should be settled before anything is ordered:
If the project is still deciding between loose-fill and synthetic surfacing in adjacent zones, reviewing an artificial turf playground layout can help clarify how edge transitions and circulation paths should work before you finalise the border type.
Practical rule: Build the border to support the surfacing system and access paths first. Appearance comes after that, not before.
A compliant border starts on paper. Before the trench is cut, the perimeter has to align with equipment setbacks, circulation paths, and accessible entry points. That sounds procedural, but it's where many projects either avoid future retrofit costs or create them.
Mark the exact border line, then map how children, carers, and maintenance staff will move through it. Don't just draw a neat rectangle around the equipment. Public and school playgrounds need clear entries where users can move from path to play area without meeting an avoidable obstacle.
AS 4685 and AS 1428 need to be considered together here. The equipment layout and fall zones influence where the border can sit. Access requirements influence how that border has to change at entry points.
The accessibility gap is bigger than most DIY advice admits. 15% of Australian children have a disability according to the Australian Institute of Health and Welfare disability reporting. The same verified guidance notes that many guides ignore bevelled edges, curb ramps, and border heights under 75 mm where a full step-over edge would create a trip risk or block wheeled access. It also notes that 62% of Australian councils failed accessibility audits, and that accessible playgrounds saw 40% higher usage.
That matters to a committee because the border is often the first exclusion point. A child doesn't have to reach the equipment to be shut out. They can be stopped at the perimeter.
At planning stage, look closely at each entry condition:
A useful way to brief the design team is this: the border should tell users where the play space begins, but it shouldn't stop the intended users from entering it.
For committees comparing compliance frameworks across public assets, it can help to look at how other outdoor regulations are interpreted in practice. This summary of municipal pool fence by-laws is from a different asset class, but it shows the same core lesson. Boundary elements are never just boundaries. They shape access, risk, and legal exposure.
Don't send a border item to tender as a vague linear-metres allowance. Show the detail. At minimum, the drawings should identify:
| Planning item | What to define |
|---|---|
| Border alignment | Exact perimeter relative to equipment and fall zones |
| Entry points | Accessible openings, transitions, and low-profile edge treatment |
| Surface relationship | Finished surfacing level relative to top of border |
| External grading | Direction of runoff away from the contained play area |
If you need a reference point for broader equipment and layout obligations, review the school playground safety standards guidance during concept design, then lock the border details before construction documentation is issued.
A border that contains mulch but blocks entry isn't a successful border. It's a design conflict built in timber, steel, or concrete.
Most committees ask for the “best” border material. There isn't one universal answer. There's only the right material for the site, the maintenance capacity, the surfacing type, and the level of wear the asset will take.
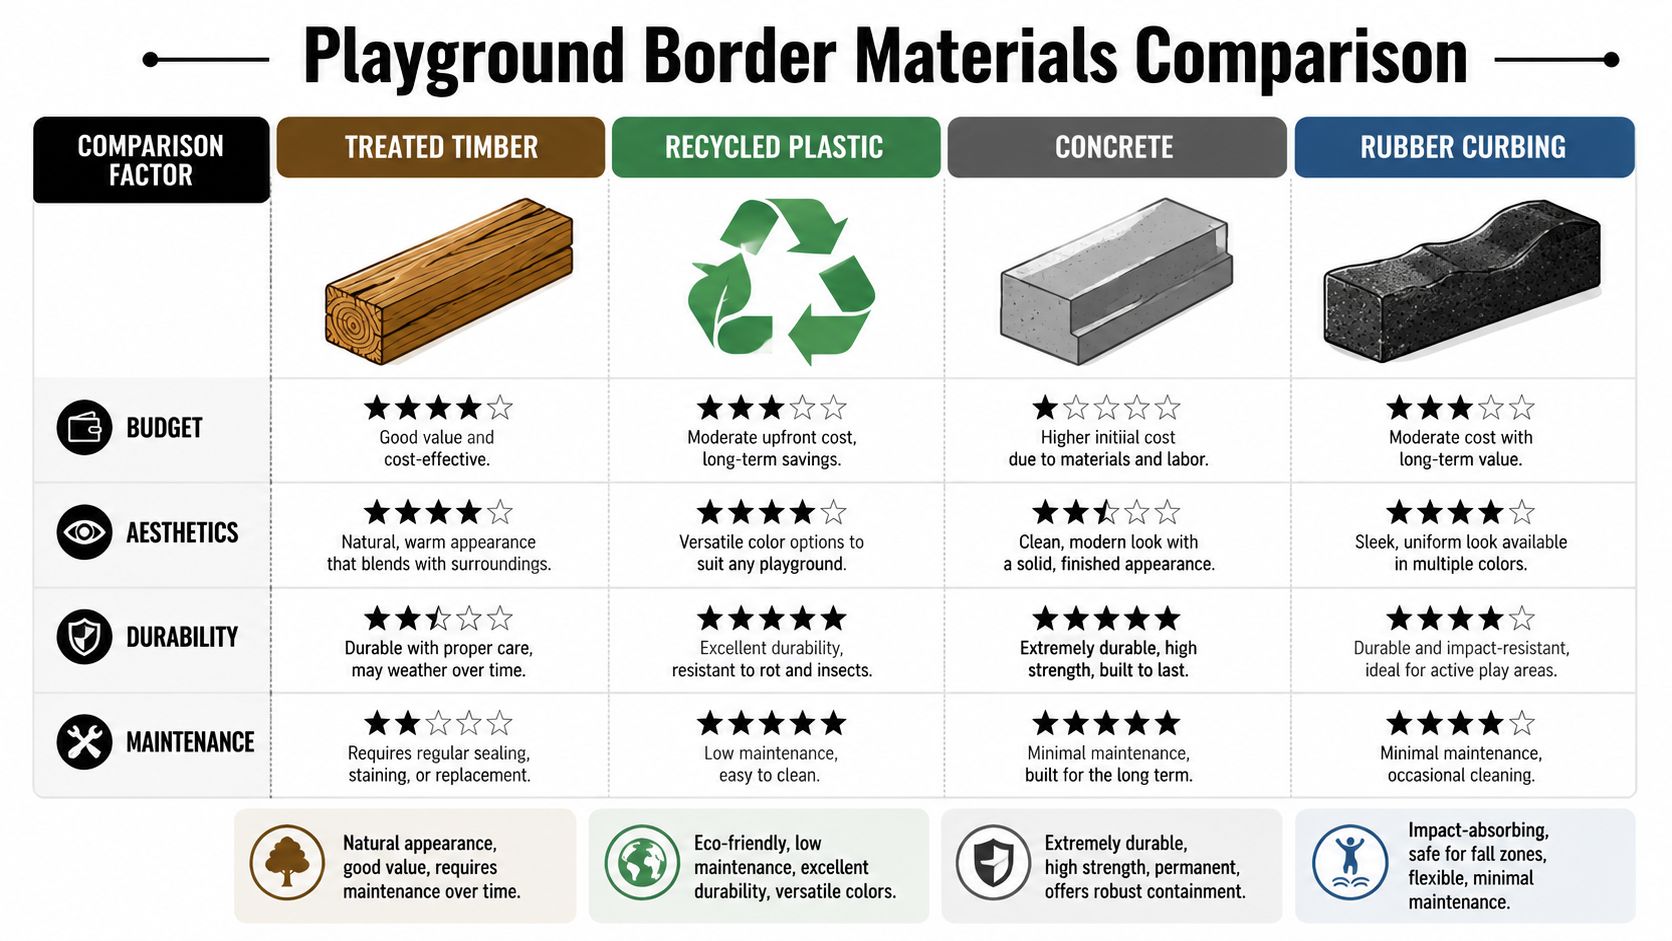
In Australian school and council work, the practical shortlist is usually treated timber, recycled plastic lumber, concrete edging, and rubber curbing. Metal edging can still have a place, but for active public play settings it often needs more caution than specifiers first assume because hard thin profiles can become impact or trip concerns if not handled carefully.
Here's the side-by-side decision view I'd use.
| Material | Where it works well | Main advantage | Main trade-off |
|---|---|---|---|
| Treated timber | Schools, parks, natural-play settings | Familiar, easy to shape on site, moderate upfront cost | More dependent on correct installation and ongoing inspection |
| Recycled plastic lumber | Childcare, schools, coastal or damp locations | Low maintenance, won't rot or splinter like timber can | Higher upfront material cost and sometimes less forgiving visually |
| Concrete edging | High-traffic public parks, permanent civic landscapes | Strong containment and long serviceability | Hard edge, harder to modify later, requires precise set-out |
| Rubber curbing | Inclusive entries, low-profile edges, transition zones | Softer edge profile and useful in impact-sensitive zones | Not ideal for every containment job or aesthetic brief |
Timber remains common because it's straightforward to procure, easy to cut around curves and corners, and visually comfortable in school grounds and park settings. It's often the right answer where budgets are real and maintenance crews are used to working with it.
But timber is unforgiving of poor groundwork. If the base settles, the timber tells on you quickly. You'll see twist, heave, separation at joins, and uneven heights. In public settings, that turns a low-cost solution into a recurring defect.
The other point is visual ageing. Some clients accept that. Others don't. If the surroundings are highly finished, recycled plastic or concrete may hold appearance better over time.
Recycled plastic lumber solves several recurring timber problems. It doesn't rot, it doesn't present splinters, and it generally needs less intervention after installation. For early learning sites and schools, that can be a strong operational advantage.
Its weakness is usually not performance but perception. Some products can look overly domestic or too lightweight unless the profile is well chosen. The fix is simple. Specify commercial-grade sections with proper anchoring and use them where a clean, consistent line matters more than a “natural” look.
Concrete is useful where the committee wants a civic-grade edge that won't move under routine use. It suits public parks, long perimeters, and projects where mowing lines and permanent geometry matter.
The cost of that permanence is rigidity. Once it's in, changes are messy. If the equipment layout, softfall extent, or access points may evolve, concrete reduces your flexibility. It also needs careful detailing at any accessible entry because a hard proud curb is exactly the sort of edge you don't want to create by accident.
Rubber curbing can be effective where the edge itself is likely to be contacted by children moving fast, or where a lower-profile, more forgiving perimeter is needed. It's often worth considering around inclusive transitions and in settings where the border needs to soften the visual and physical threshold.
It's not the default answer for every site. Some council teams prefer a more structural edge for long-term containment of loose-fill surfacing. Rubber works best when its role is clear in the overall surface strategy.
If your committee needs a quick decision filter, use this:
For a broader look at how material selection affects outdoor asset performance, this homeowners' guide to quality fence materials is aimed at fencing rather than playgrounds, but the decision logic is familiar. Material choice is never just about look. It's about weathering, repairability, and lifecycle behaviour.
If your border has to work with unitary surfacing as well as loose-fill zones, review the practical interface requirements for wet pour rubber surfacing before finalising profiles and heights. Most border failures at mixed-surface sites come from poor transitions, not from the border material alone.
Most border failures are installed, not manufactured. The material gets blamed, but the sub-base is usually the primary problem.
For timber borders in Australian school and council environments, industry practice aligns with AS/NZS 4486.1 and AS 4685 guidance, using H3.2 or higher CCA-treated timber for ground contact and a minimum 150 mm border height above finished loose-fill surfacing to retain rubber mulch and wood fibre, as set out in the verified data from the WillyGoat playground border reference.
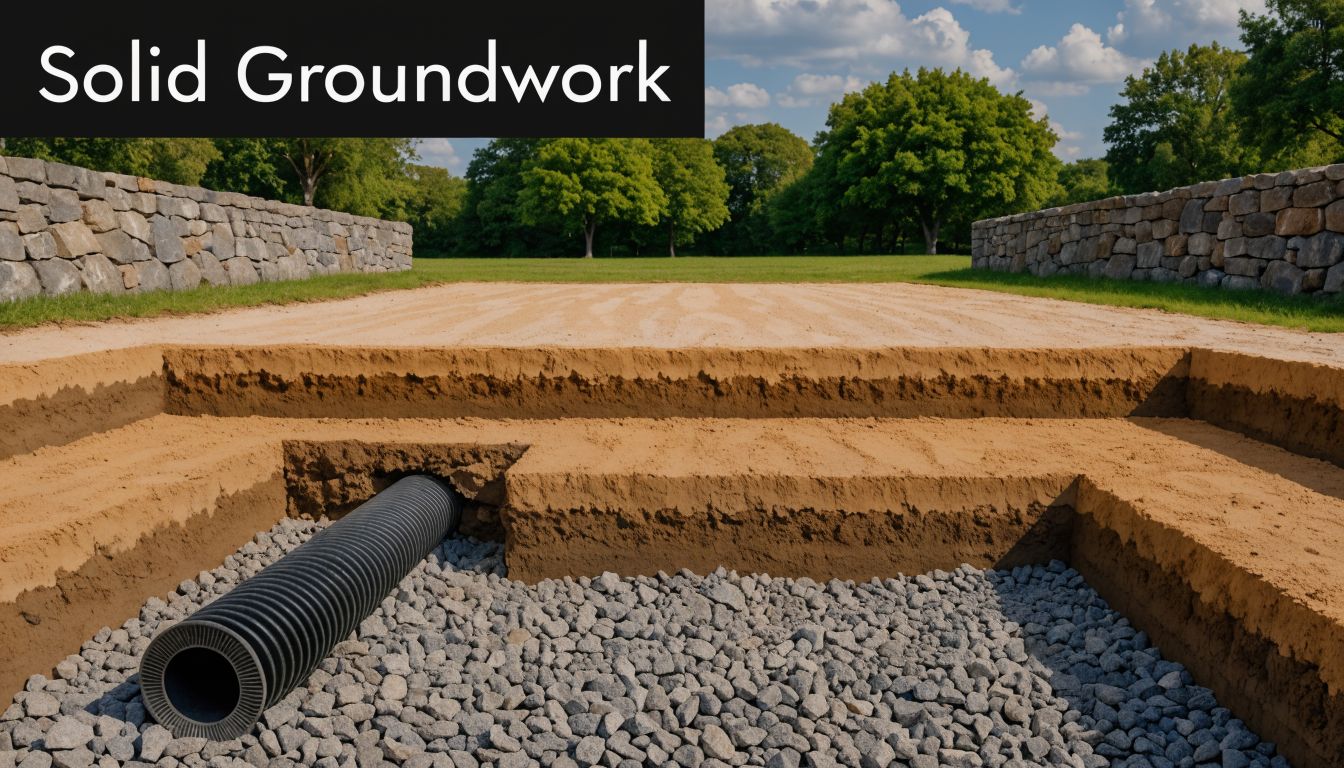
The same verified source notes that common practice includes 75 × 150 mm treated softwood sections secured with 12 to 18 inch rebar pins at 1.2 to 1.8 m intervals, with a 9-year median service life where installed in council projects. It also reports that 41% of failures were linked to inadequate grading and base compaction, and that poorly compacted installations showed a 3.2 times higher repair incidence within the first 3 years.
That should settle the argument about where to spend effort. Spend it below ground.
Use this sequence:
Poor grading shows up later as board twist, mulch migration, and raised edges. By the time those defects are visible, the expensive part of the repair is already unavoidable.
Drainage here isn't about making the trench look neat. It has a specific job. Water must move away from the border so it doesn't sit against timber, soften the sub-base, or carry surfacing out through low points.
The external side of the border matters as much as the inside. If runoff from surrounding ground pushes back toward the perimeter, the border ends up acting like a dam. That's how you get undermining, wet softfall, and chronic settlement at isolated sections.
A quick field check usually reveals the actual risks. Look for these before install day:
If the committee wants long-term value, this is the stage to insist on workmanship, not just materials. Good border installation begins with the unseen work.
Once the trench is compacted and the grades are confirmed, installation becomes a control exercise. Keep the line straight where it should be straight, keep curves consistent, and don't let one rushed join create the defect everyone notices later.
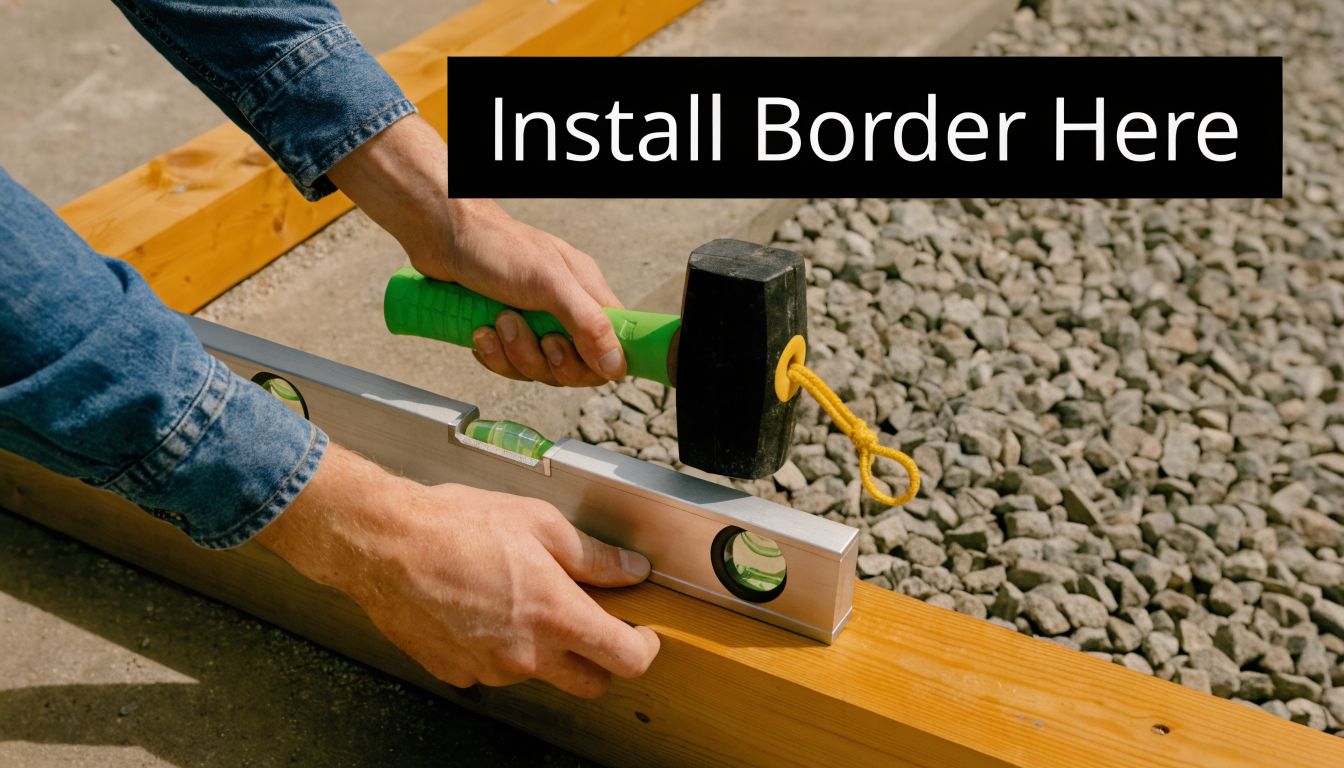
It does. The first installed piece controls the rest of the run. Place it on the prepared base, check height against the intended finished surfacing level, and verify the outside face follows the marked perimeter. Use a string line for straight runs and a flexible set-out guide for curves.
Pre-drill where required. For timber, that reduces splitting and helps keep rebar positions tidy. Drive the anchors vertically unless the manufacturer or engineer specifies otherwise. Then check level again before moving on.
A border can be secure and still be wrong. I see this often. Crews drive stakes fast, but they don't stop to check whether the top line is creeping up or down along the run.
Different materials need different handling.
Treated timber
Pre-drill stake holes, seat the member fully in the trench, and keep joins tight. If you're using staggered joints on longer runs, keep the pattern consistent so weak points don't cluster in one area.
Recycled plastic lumber
Follow the manufacturer's stake and connector system exactly. Don't assume plastic can float over minor base irregularities. It can't. If the trench is sloppy, the installed line will look sloppy.
Concrete units
Use machinery where needed and set each section onto a uniform bed. Heavy units hide small alignment errors until the whole run is finished, then the eye catches every inconsistent reveal.
Rubber curbing
Watch the profile at entries and transitions. Rubber is often selected because it softens the edge condition, so don't undermine that benefit with abrupt joins into hard surfaces.
During installation, crews should repeatedly check:
| Control point | What to watch |
|---|---|
| Height | Consistent relationship to finished softfall level |
| Alignment | No kinks, bellies, or stepped joins unless intentionally designed |
| Stability | No rocking, voids, or loose backfill outside the border |
Backfill the outside face as sections are fixed. Compact that backfill firmly. The border shouldn't rely only on stakes. It also needs lateral support from the surrounding ground.
This installation video is useful for visualising the sequence of set-out, levelling, and fixing before surfacing goes in:
The finishing quality of the joins matters more than many crews expect. Gaps leak surfacing. Misaligned ends create toe catches. Exposed pins or sharp arrises become defect-list items immediately.
Use a mallet where light adjustment is needed, not brute force. Check each change in direction with a level and tape rather than by eye alone. On school and council sites, “close enough” at the perimeter rarely stays close enough after a season of use.
Tight joins and consistent height aren't cosmetic details. They're what stop the border becoming the first trip hazard in the playground.
Once the border is fixed, finish the play area as a system, not as separate trades. Add the loose-fill surfacing, rake it level, and confirm the finished level sits below the top of the border so the edge still performs as containment rather than disappearing into the fill.
Do a slow walkthrough at child height, not just standing height. Look for exposed stakes, proud fixings, sharp corners, and awkward entry conditions. Pay special attention to joints and accessible openings, because that's where defects usually present first.
Before practical completion, check these items:
Borders rarely fail all at once. They loosen section by section. That's why routine inspection works.
Inspect for movement, cracking, warping, separation at joins, and surface migration near the perimeter. Timber should also be checked for early signs of rot or insect attack. If a section starts moving, correct it while the defect is localised.
A structured playground maintenance checklist is useful for schools and councils because it gives grounds teams a repeatable way to inspect borders, surfacing, and entry points together rather than treating the edge as an isolated item.
Step the border in level sections rather than forcing one long piece to follow a grade. Each section should sit on its own properly prepared pad, with neat transitions between levels. If the slope is substantial or the border starts acting like a retaining structure, stop and get engineering advice instead of improvising with longer stakes.
Treated timber usually gives the easiest natural result, especially where the site includes logs, planting, sand, and informal play elements. Concrete can also work if the project uses a more sculpted civic-natural style, but the detailing has to stay soft enough that the edge doesn't feel institutional.
Yes, but only after locating footings, underground services, and the true fall zone extents. The practical way to do it is to remove loose-fill surfacing from the work area, set out the new perimeter carefully, then install around the equipment without disturbing structural supports. Retrofitting around old equipment often exposes how inaccurate the original edge line was, so allow time for careful set-out rather than assuming the old perimeter was correct.
If your school, council, or design team needs support turning these principles into a compliant, buildable playground layout, Kidzspace can help with design advice, equipment planning, and practical guidance for safe, inclusive outdoor play environments.


Copyright © Kidzspace. All Rights Reserved.
Copyright © Kidzspace. All Rights Reserved.